Puttygen raspberry pi
How to Automatically log into a Raspberry Pi
 Below I will outline how to automatically log into your Raspberry Pi from a Windows PC using Putty. This requires the setup of SSH keys, which is very easy to do.
- Create SSH keys.
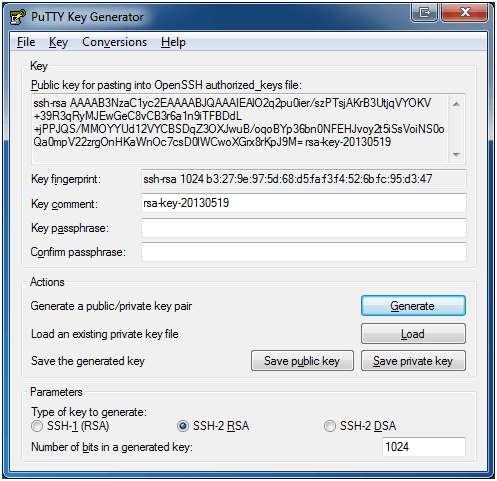
Download Puttygen from here and run it.
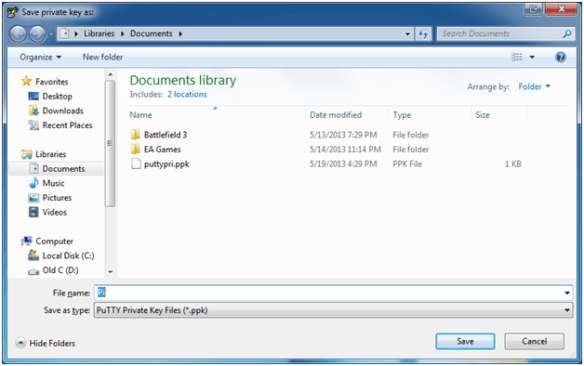
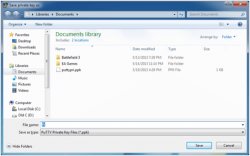
Once open, click on Generate and move your mouse around to generate your SSH keys. - Now click Save Private Key and save the key to your local drive.
If you getting a warning about saving the key without a passprase, just click yes.
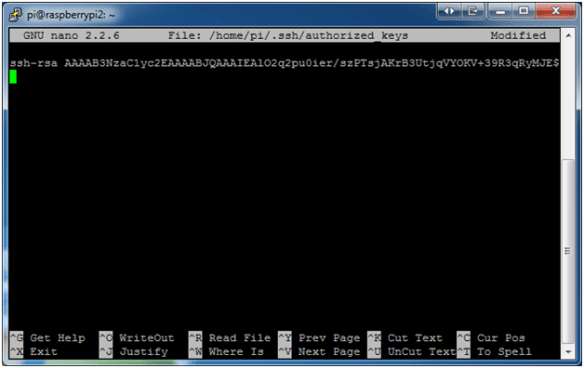
- log into your Raspberry Pi and create the authorization file,
 pi@raspberrypi ~ $sudo nano /home/pi/.ssh/authorized_keys
 - It should look like this. Then ALT-X to exit and save.
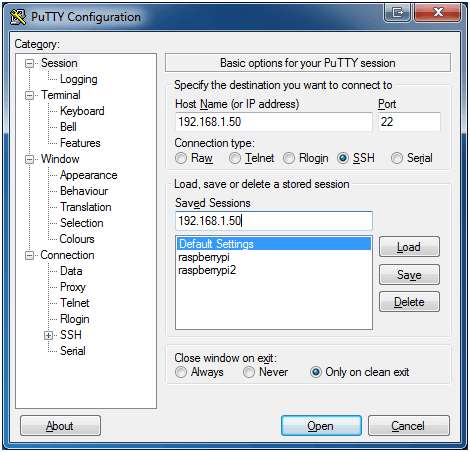
- Open up Putty and add in the IP address for your Raspberry Pi and make sure that SSH is selected.
- Within Putty, on the left hand side, expand connection and SSH and select Auth. In the path for Private Key for authentication select the the private key we saved earlier.
- We now need to add the user name to log in with.
On the left hand side, select connection and then Data.
Enter pi as the username. - Go back to the main screen and save the session.
- Now select Open to log into your Rasspberry Pi automatically. No need to enter username or password. The first time you log in you will be asked to accept the key.